Moving this blog
Typepad is no more. The blogging platform that I have used since I began my Flight Artworks endeavour is closing down, pitching myself and thousands of others into the internet abyss. With very little notice,…
Typepad is no more. The blogging platform that I have used since I began my Flight Artworks endeavour is closing down, pitching myself and thousands of others into the internet abyss. With very little notice,…
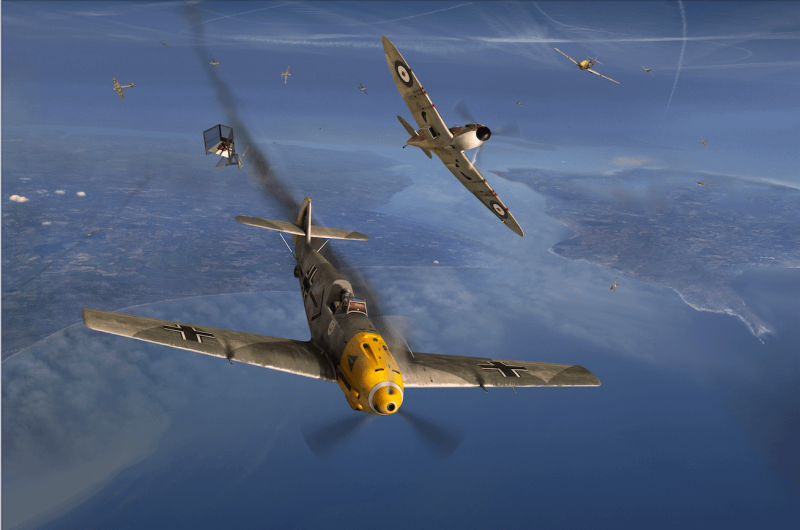
I learnt two things making this image: a deadly encounter between German and British fighter aircraft in late 1940; and the unusual cockpit canopy jettison mechanism on the Messerschmitt Bf 109.
My latest picture features a dusty, desert-coloured Spitfire IXc – and a yellow herring.
The new paint scheme for the RAF Battle of Britain Memorial Flight Spitfire TE311 features a Polish boxing bulldog nose art: one of several similar emblems.
The story was not one I knew about when I started making the picture, which is the opposite of how things normally go.
When was the last time an RAF aircraft was shot down by an enemy in an air-to-air engagement?
My latest Flight Artworks picture deals with the fraught subject for Battle of Britain pilots of being shot down in the English Channel.
High Wycombe, 16 Feb 2015 My latest picture portrays some 128 separate aircraft on what we now know was a decisive day: 15 September 1940. The picture, which I have been working on for much of…
High Wycombe, 31 Jan 2014 These pictures began life at an airshow. I did not set out with the idea of making a ‘Phoney War’ picture, let alone two – in fact I knew little about…
High Wycombe, 27 Sep 2012 Alongside my regular photography, taking in trips to the North East, the sailing Olympics in Weymouth and the Edinburgh Fringe, I’ve recently been putting a lot of effort into my…